Using FerretDB 1.0 with Studio 3T

If you're new to FerretDB and Studio 3T, FerretDB 1.0 GA is a truly open-source replacement for MongoDB, allowing developers to use the same MongoDB wire protocol and query language, making it an excellent option for MongoDB GUI applications like Studio 3T.
As developers, we're always on the hunt for tools that make our processes and applications easier to use, so we believe it's an extra advantage to be able to use any GUI of your choice with FerretDB.
With the release of FerretDB 1.0 GA, you're probably wondering about the kind of applications that FerretDB is compatible with, and what you can achieve with them. Well, we're happy to let you know that FerretDB is compatible with a lot of MongoDB GUI applications such as Studio 3T, Mingo UI, NoSQLBooster, etc.
With FerretDB, you can use similar commands and syntax as in MongoDB without licensing concerns or vendor lock-in.
In this article, we'll dive into how to use FerretDB with Studio 3T and show you how to get started.
Installation and Setup
FerretDB Setup
FerretDB is now available for installation and testing on two cloud providers: Scaleway and Civo Marketplace.
For this tutorial, we'll be using Docker to set up FerretDB. We can follow the FerretDB Docker installation guide for more instructions.
-
Install Docker on your machine if you haven't already done so.
-
Create a docker-compose file with the following configurations:
services:
  postgres:
    image: postgres
    environment:
      - POSTGRES_USER=username
      - POSTGRES_PASSWORD=password
      - POSTGRES_DB=ferretdb
    volumes:
      - ./data:/var/lib/postgresql/data
  ferretdb:
    image: ghcr.io/ferretdb/ferretdb
    restart: on-failure
    ports:
      - 27017:27017
    environment:
      - FERRETDB_POSTGRESQL_URL=postgres://postgres:5432/ferretdb
networks:
  default:
    name: ferretdb
The
postgresservice in the docker compose file runs a PostgreSQL database that will store its data in the "./data" directory on the host machine, which is mounted as a volume in the container.Please update the
usernameandpasswordwith your authentication credentials. -
Run the following command to start the services:
docker compose up -d -
For those with mongosh installed, you can run FerretDB with the following command:
mongodb://username:password@127.0.0.1/ferretdb?authMechanism=PLAINIf you don't have mongosh installed on your system (like me), you can execute it inside a temporary MongoDB container by running the following command:
docker run --rm -it --network=ferretdb --entrypoint=mongosh mongo \
"mongodb://username:password@ferretdb/ferretdb?authMechanism=PLAIN"
And that's all we need to set up FerretDB on Docker.
Studio 3T Setup
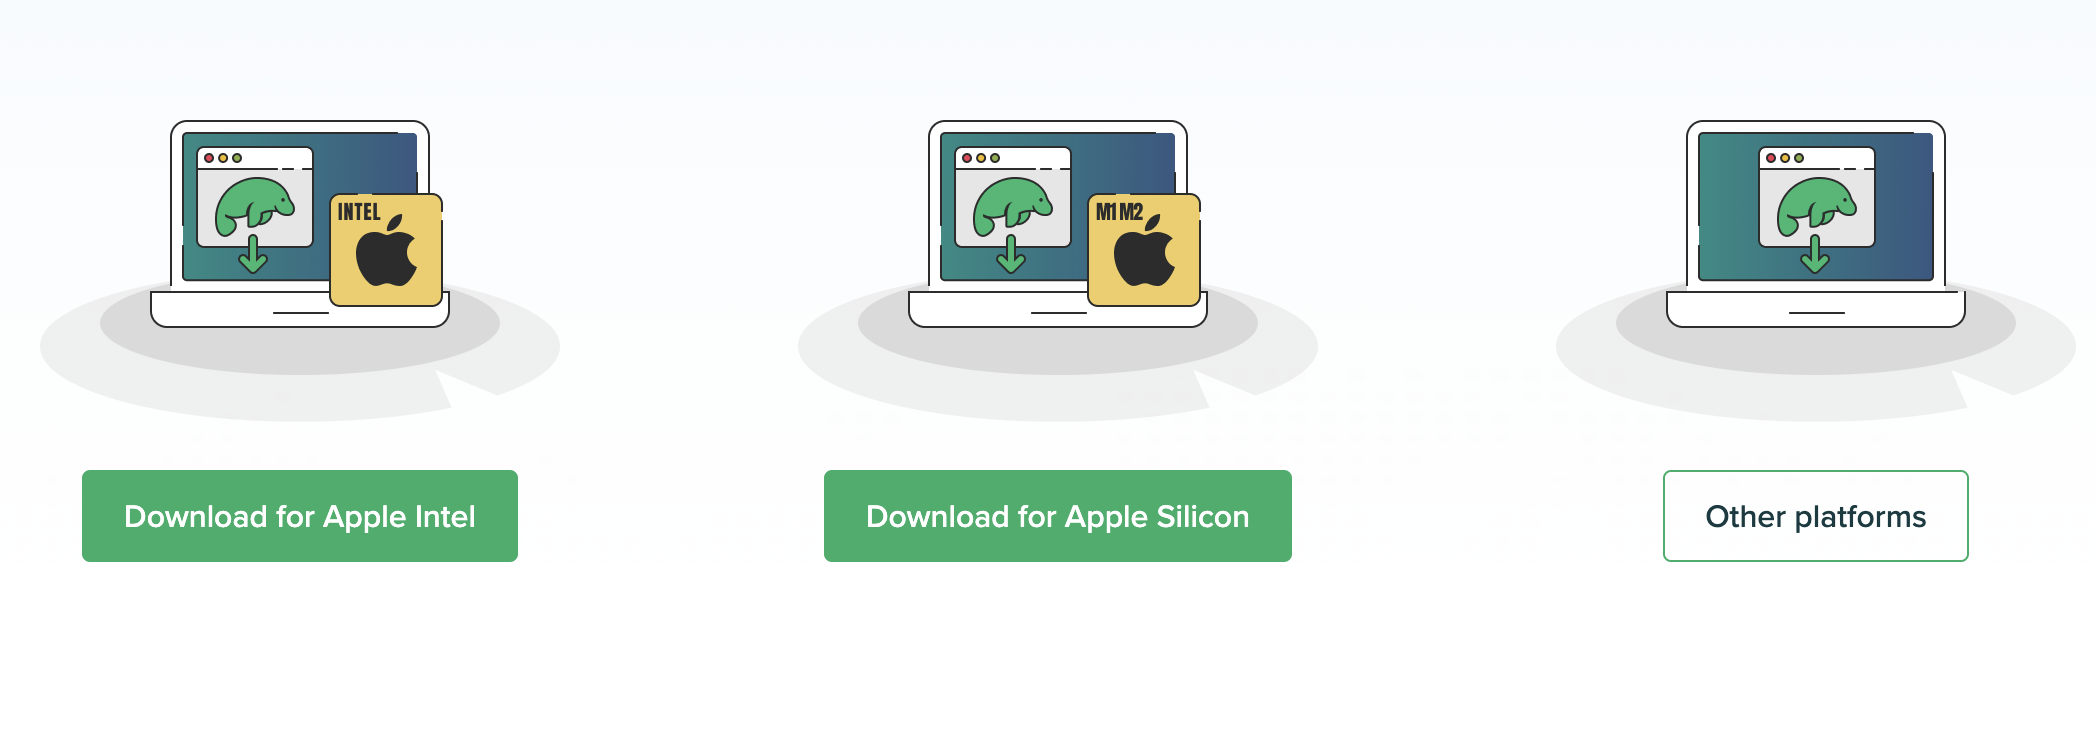
To set up Studio3T, we need to go to the Studio 3T website to download the appropriate version that matches our OS. There are installation options for macOS, Windows, or Linux systems.
Once installed, if you already have an account, you can proceed to sign in; otherwise, sign up fro a new account.
Connect Studio 3T with FerretDB Instance
Once we've finally installed and set up Studio 3T locally, the next thing to do is to connect Studio 3T with our FerretDB instance.
-
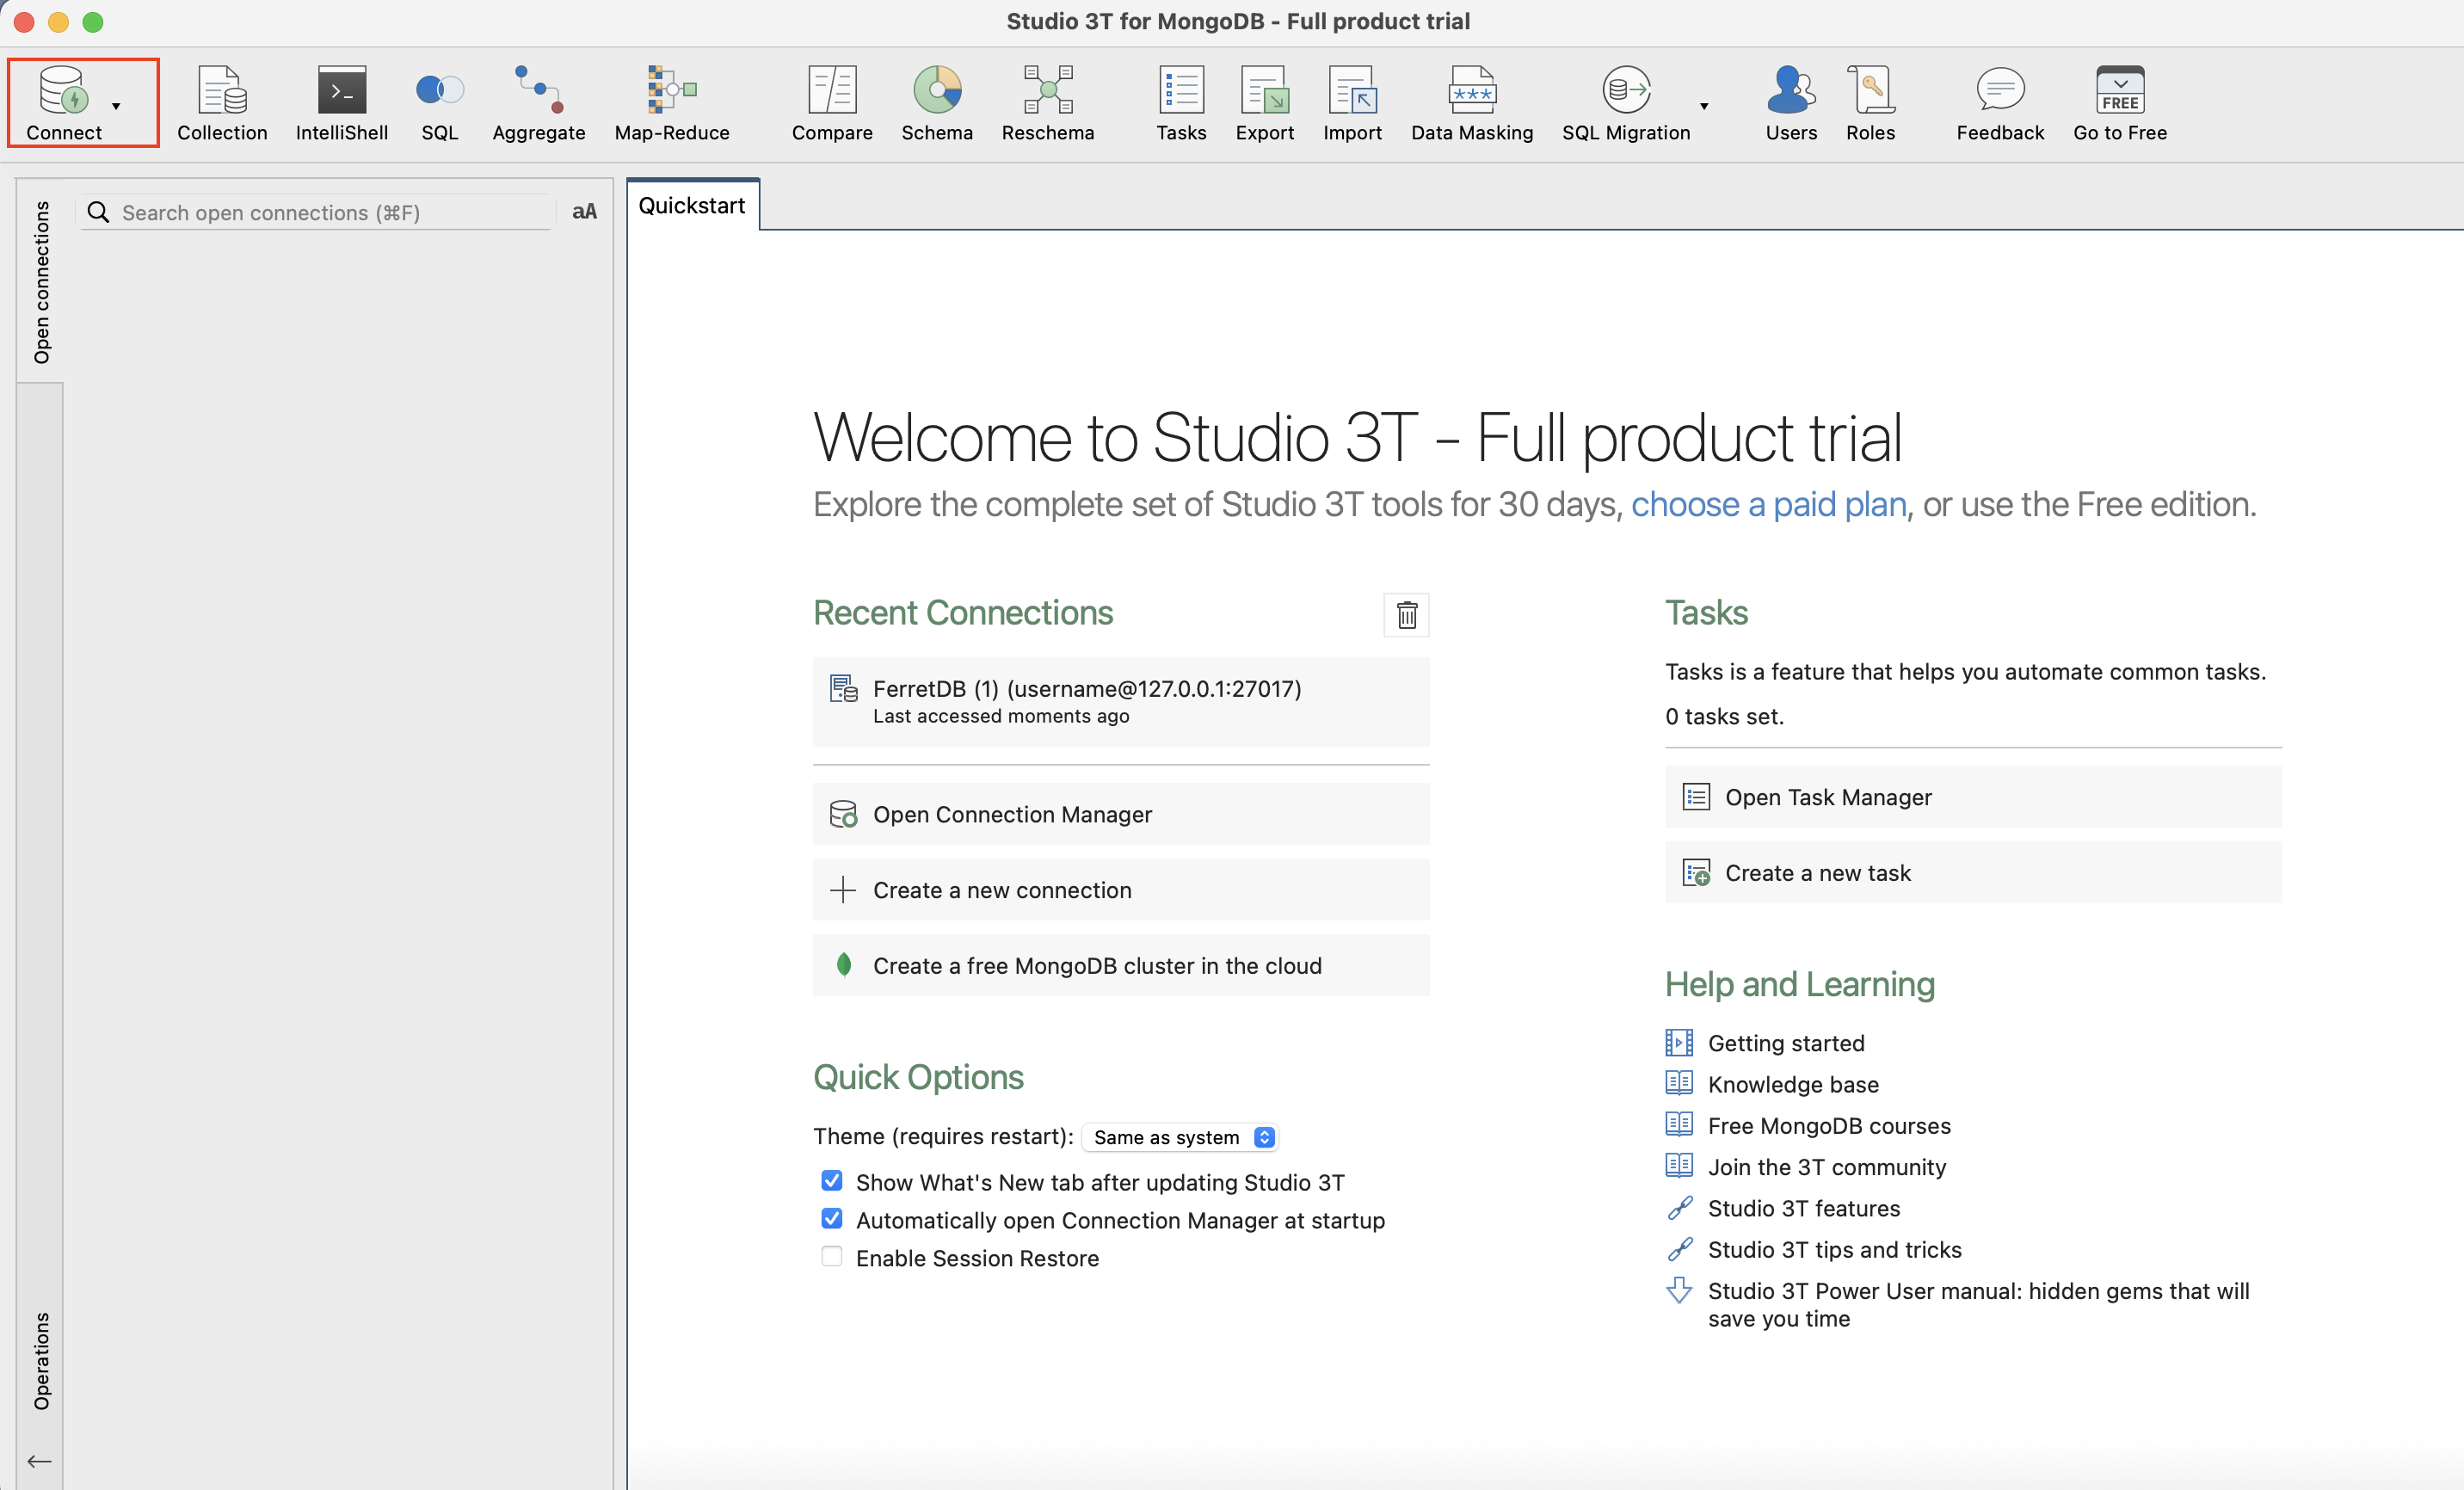
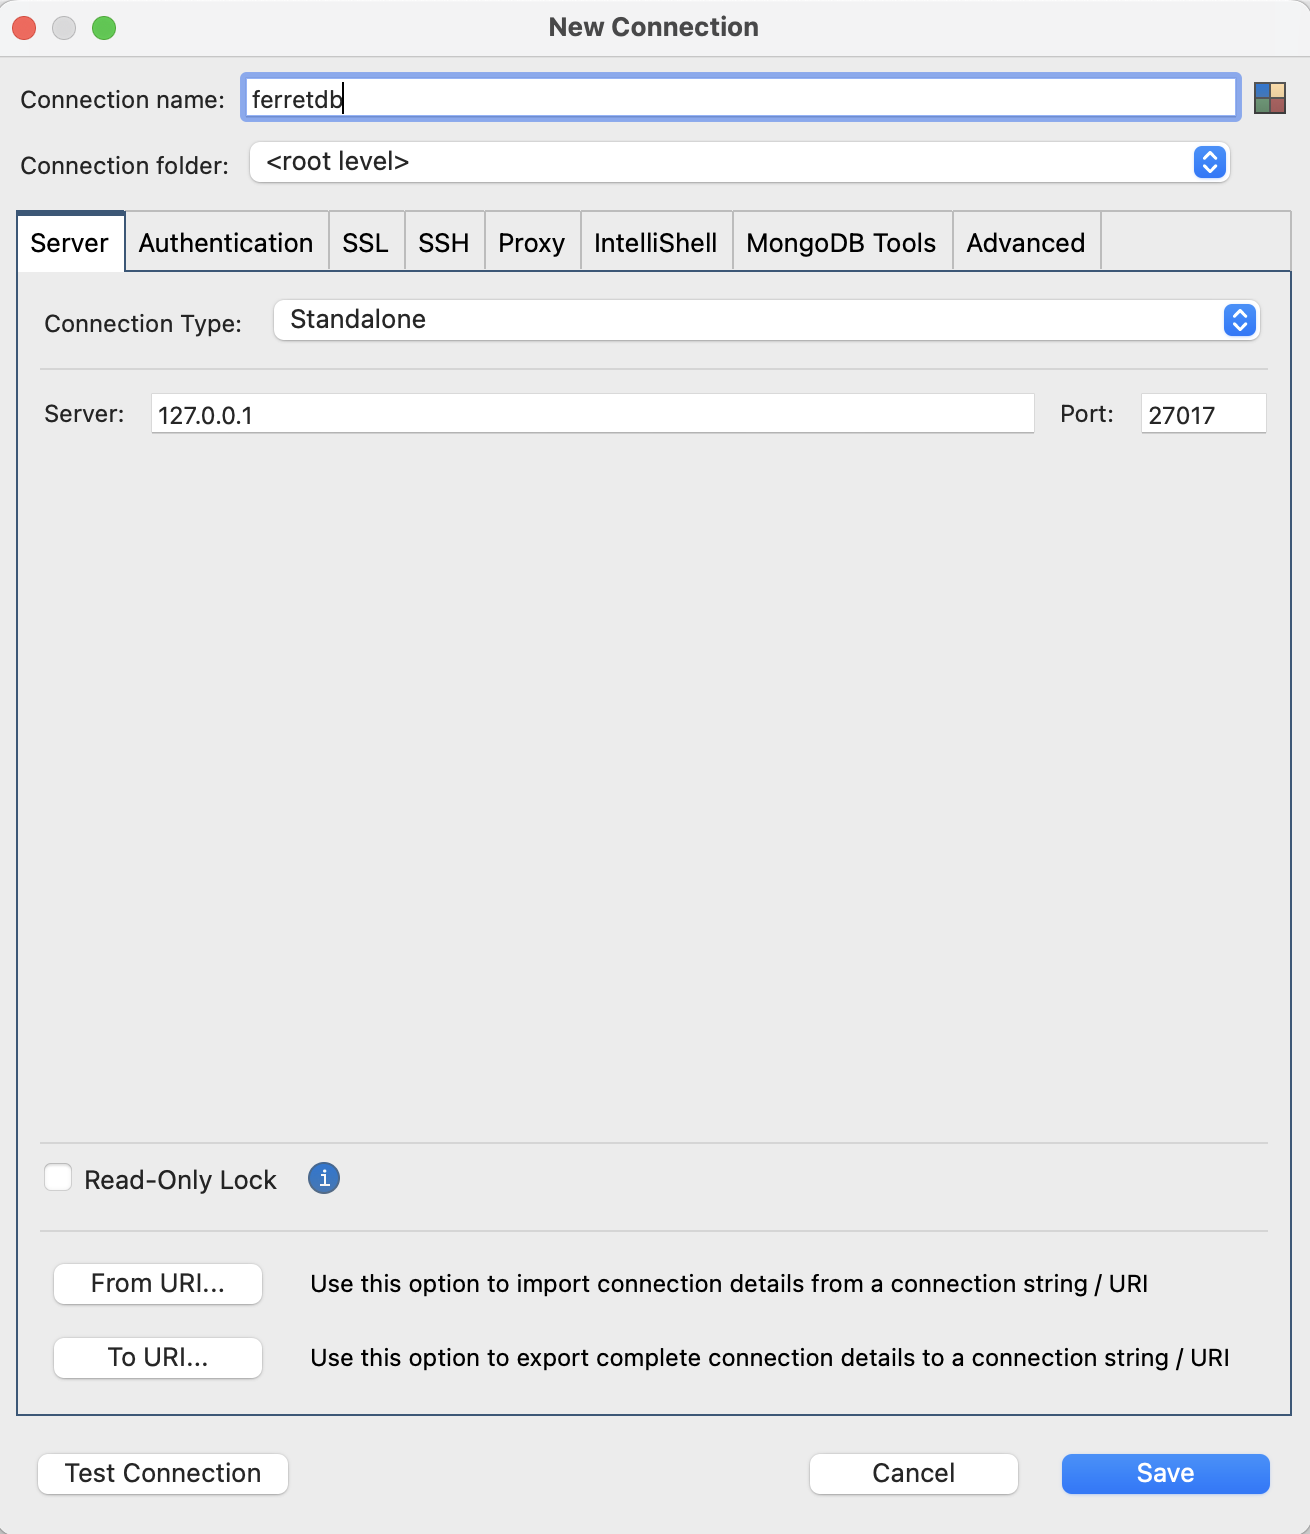
To set up a connection, open Studio 3T and click on "New Connection" on the welcome screen. You will be given a "New Connection" dialog box that you should use to set up your connection.
Connect FerretDB with any MongoDB client application like Studio 3T using MongoDB URI
mongodb://127.0.0.1:27017/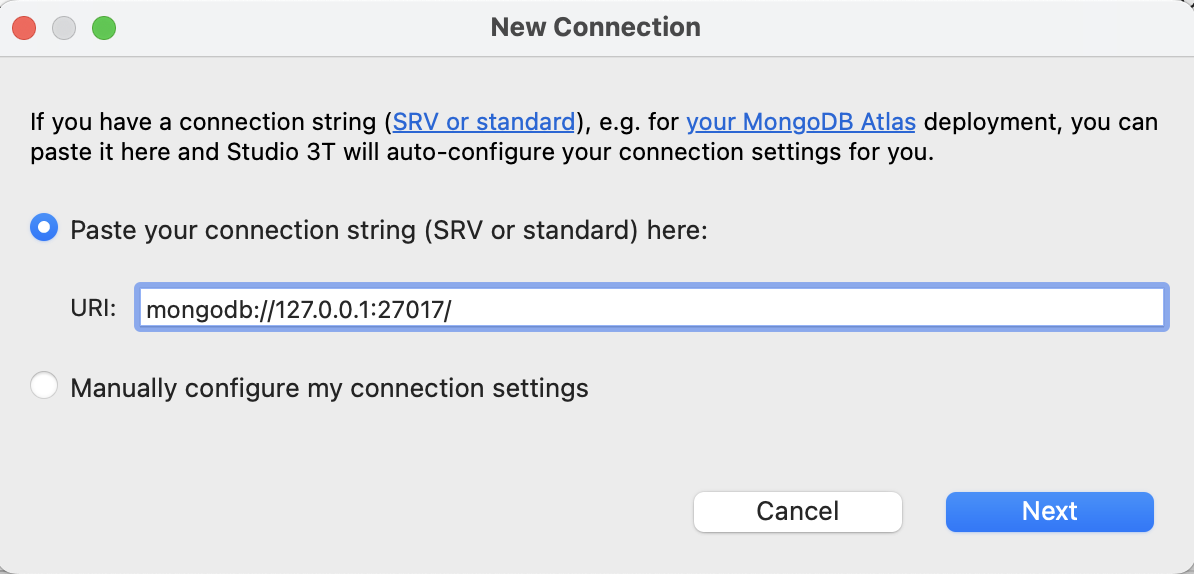
Click "Next" to proceed.
-
In the "New Connection" dialog box, set up your connection with the following details:
- Connection name: A name for your connection.
- Server: The hostname or IP address of your FerretDB instance (e.g., "ferretdb"). The server and port are automatically set based on the connection URI you provided.
- Port: The port number on which FerretDB is listening (default is 27017)
- Authentication: Set to "LDAP (PLAIN)"
- Username: The username created for FerretDB
- Password: The password created for FerretDB
-
Click on "Test" to make sure the connection is working. It should look like this once connected:
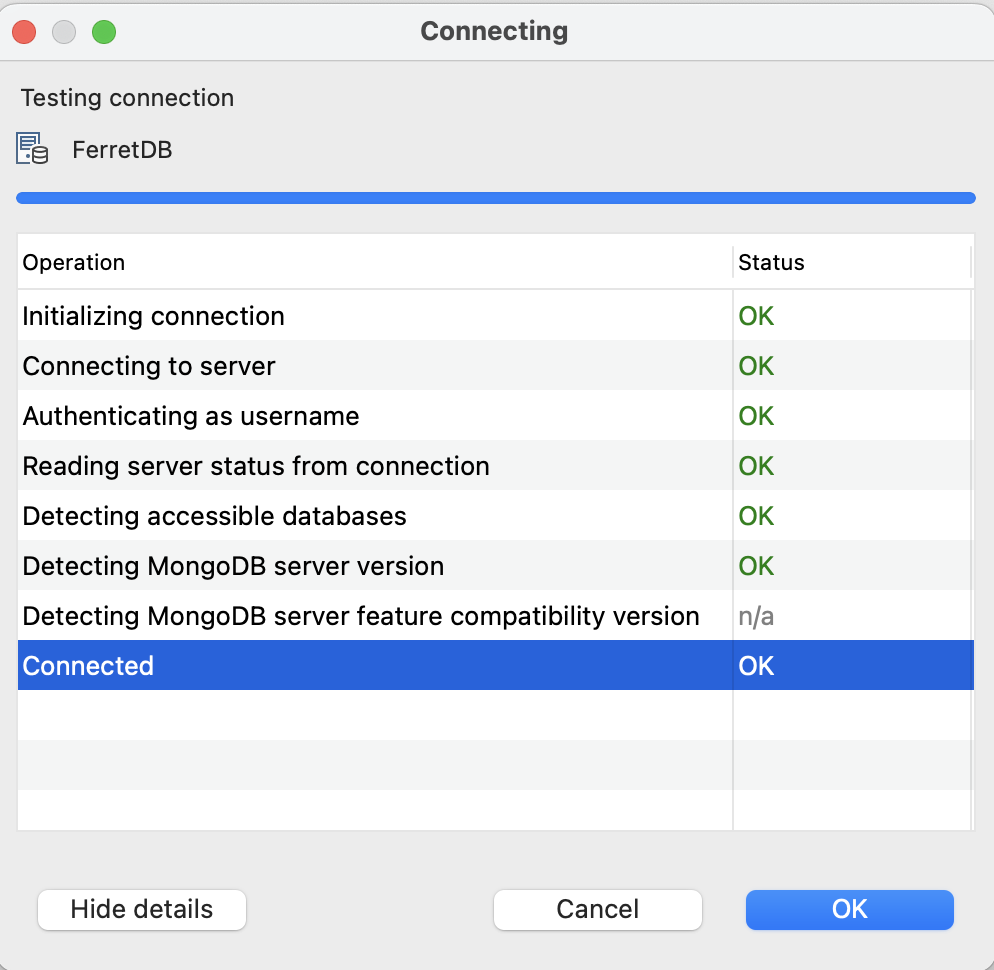
If the test is successful, click on "Save" to save the connection.
And that's about it; we have connected Studio 3T with our FerretDB instance. Up next, we will try to run some basic and advanced operations on Studio 3T to see all the essential features of FerretDB.
Basic Operations
In this section, we will try to run some basic operations in Studio 3T and FerretDB, as we would with MongoDB.
To begin, let's create a database and collection using Studio 3T. If you already have some databases available in the FerretDB instance, this will be displayed in the list of available databases on the Studio 3T screen.
If not, right-click on the added connection and select "Add Database", naming it "testing". Once that's created, we repeat the process by right-clicking on the new database and then "Add Collection".
Let's insert some documents into the collection we created:
Select the collection that will hold all your documents.
Then click on the "IntelliShell" button on the toolbar. If the toolbar is not visible, right-click on the collection and select "IntelliShell" from the context menu.
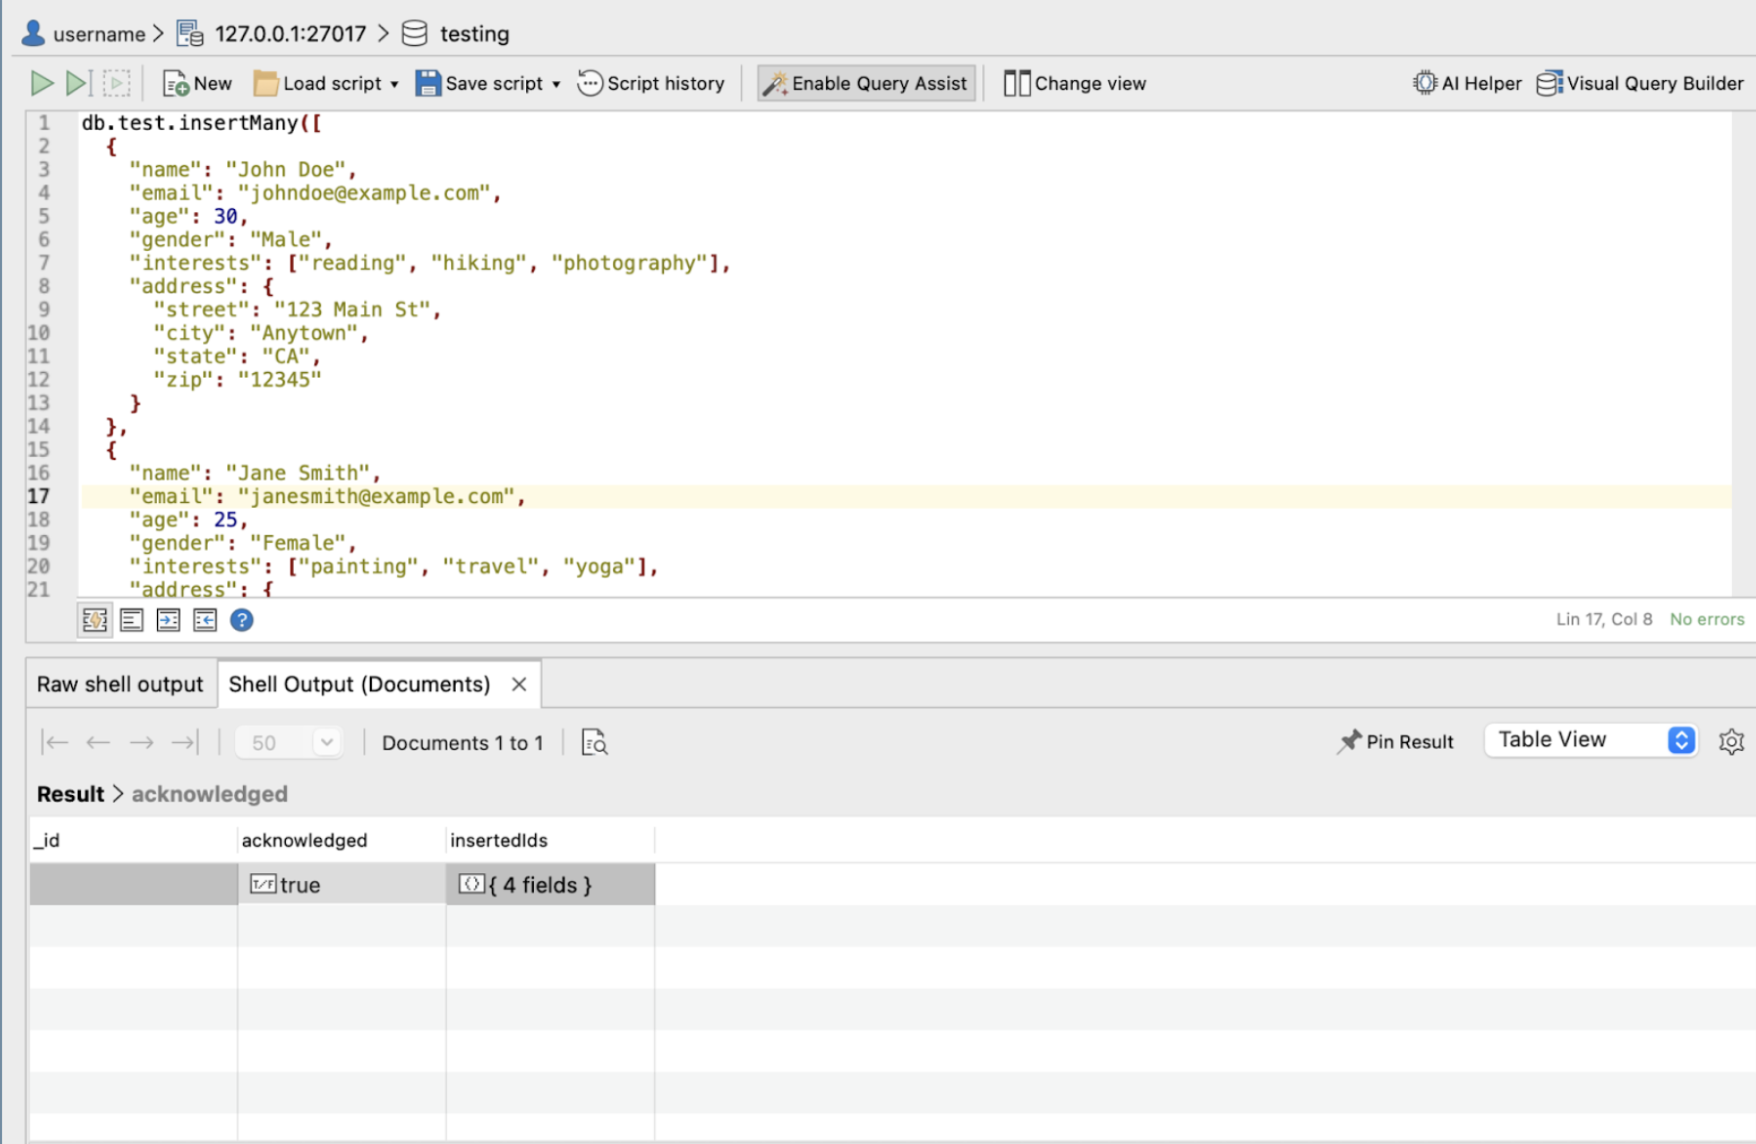
In the IntelliShell window, type the following command to insert the first document:
db.test.insertMany([
  {
    name: 'John Doe',
    email: 'johndoe@example.com',
    age: 30,
    gender: 'Male',
    interests: ['reading', 'hiking', 'photography'],
    address: {
      street: '123 Main St',
      city: 'Anytown',
      state: 'CA',
      zip: '12345'
    }
  },
  {
    name: 'Jane Smith',
    email: 'janesmith@example.com',
    age: 25,
    gender: 'Female',
    interests: ['painting', 'travel', 'yoga'],
    address: {
      street: '456 Elm St',
      city: 'Othertown',
      state: 'NY',
      zip: '67890'
    }
  },
  {
    name: 'Bob Johnson',
    email: 'bjohnson@example.com',
    age: 40,
    gender: 'Male',
    interests: ['cooking', 'gardening', 'fishing'],
    address: {
      street: '789 Oak St',
      city: 'Somewhere',
      state: 'TX',
      zip: '23456'
    }
  },
  {
    name: 'Samantha Lee',
    email: 'slee@example.com',
    age: 28,
    gender: 'Female',
    interests: ['music', 'dancing', 'skiing'],
    address: {
      street: '321 Pine St',
      city: 'Anotherplace',
      state: 'FL',
      zip: '34567'
    }
  }
])
This should insert 4 documents into the collection. If it's not visible on the screen, right the collection and click "Refresh".
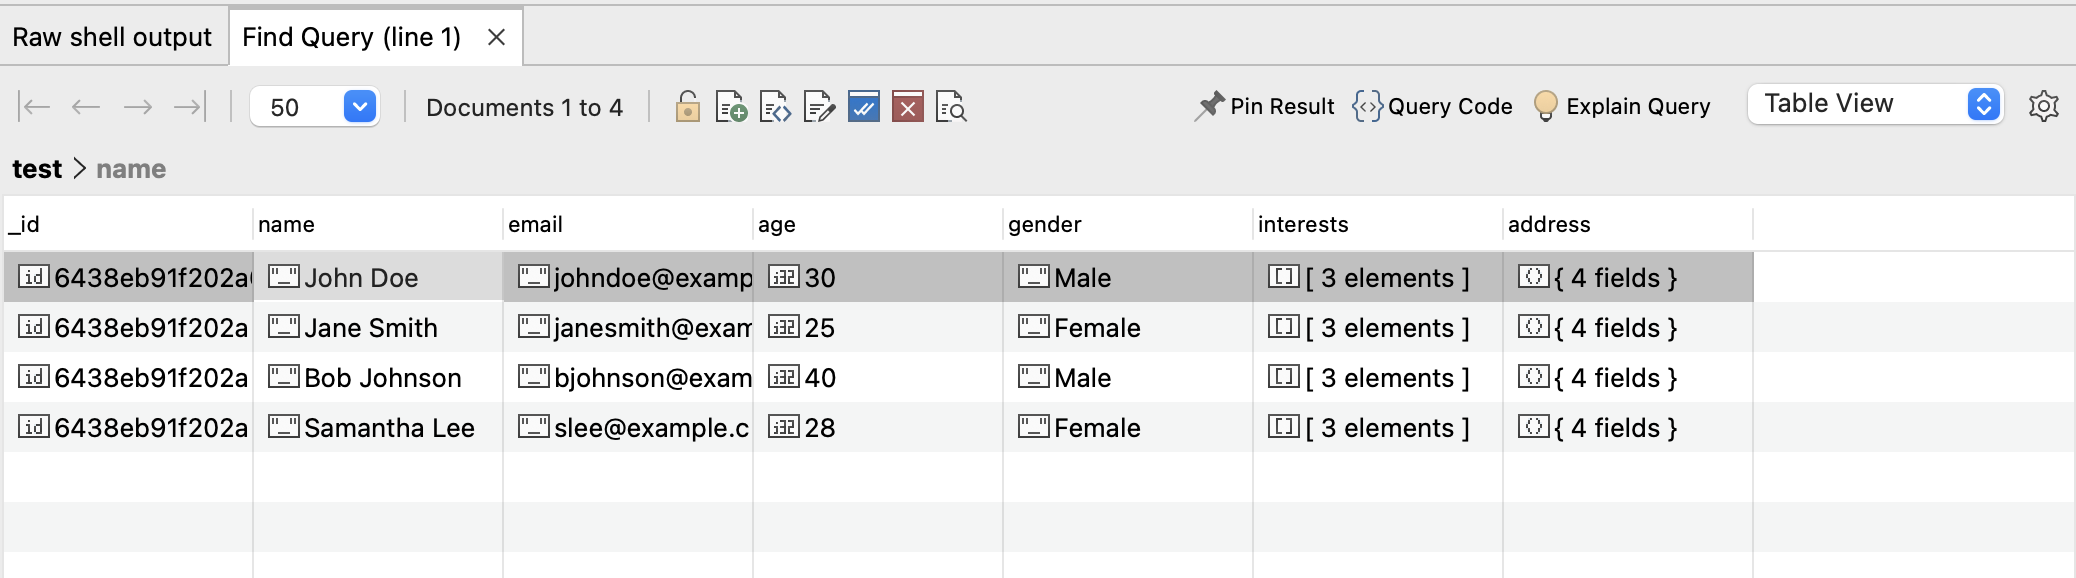
If you run db.test.find() in intellishell, the list of added documents will be displayed as response:
Let's run other queries on the FerretDB database to see how they perform in Studio 3T.
Here is a read example using the $lte operator:
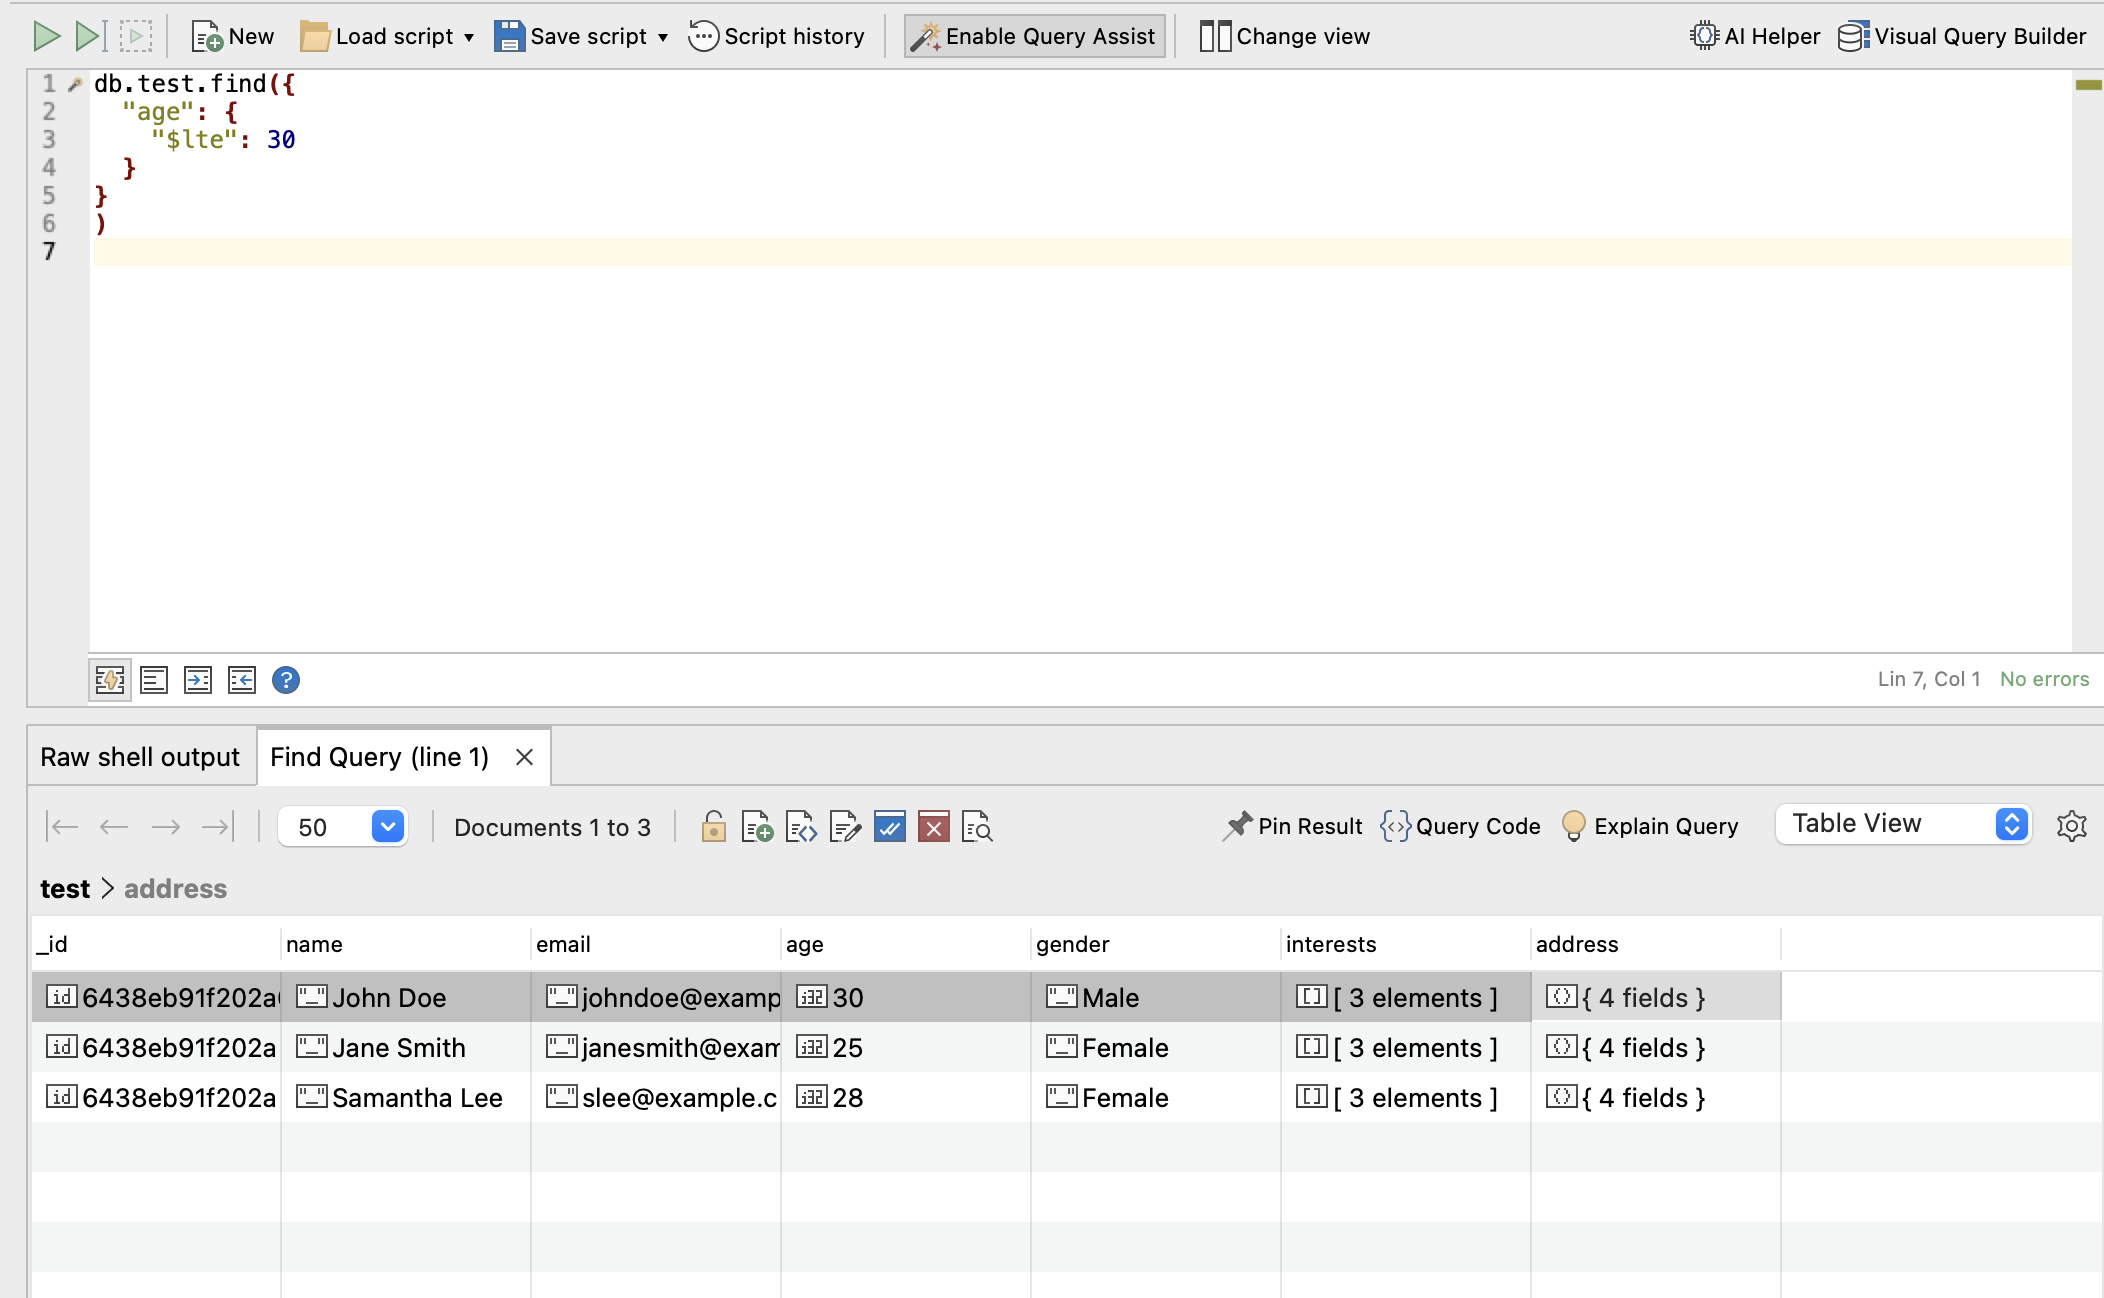
Let's also try updating some documents in the database by extending the above query.
db.test.updateMany(
  { age: { $gte: 30 } },
  { $set: { interests: ['reading', 'hiking', 'photography', 'painting'] } }
)
This works perfectly, with two matched documents updated.
It also works as expected when we try to delete a document from the collection. As we've shown, FerretDB is able to handle all basic operations on Studio 3T.
In the next section, we will try out more advanced operations and scenarios to see how it holds up.
Advanced Operations
With the release of FerretDB 1.0 GA, FerretDB is highly suitable for handling essential MongoDB features that you'd need in most applications. And since it's constantly improving, compatibility is always an ever-growing process.
Say we want to perform operations on a new collection, sales, with the following document.
{
  _id: 1,
  customer_name: "Sarah Lee",
  order_items: ["sweater", "jacket"],
  order_total: 78.45
},
{
  _id: 2,
  customer_name: "Tom Smith",
  order_items: ["sneakers", "t-shirt", "shorts"],
  order_total: 42.10
},
{
  _id: 3,
  customer_name: "Alice Brown",
  order_items: ["jeans", "belt"],
  order_total: 56.70
}
An aggregation pipeline operation like the one below would run without any error:
db.sales.aggregate([{ $sort: { order_total: -1 } }])
FerretDB can be used to perform complex operations using aggregation pipelines to transform data.
In addition to aggregate, count, and distinct aggregation pipeline commands, FerretDB supports the following aggregation pipeline stages:
- $count
- $group
- $limit
- $match
- $out
- $skip
- $sort
- $unwind
You can find the full list of available supported FerretDB commands here.
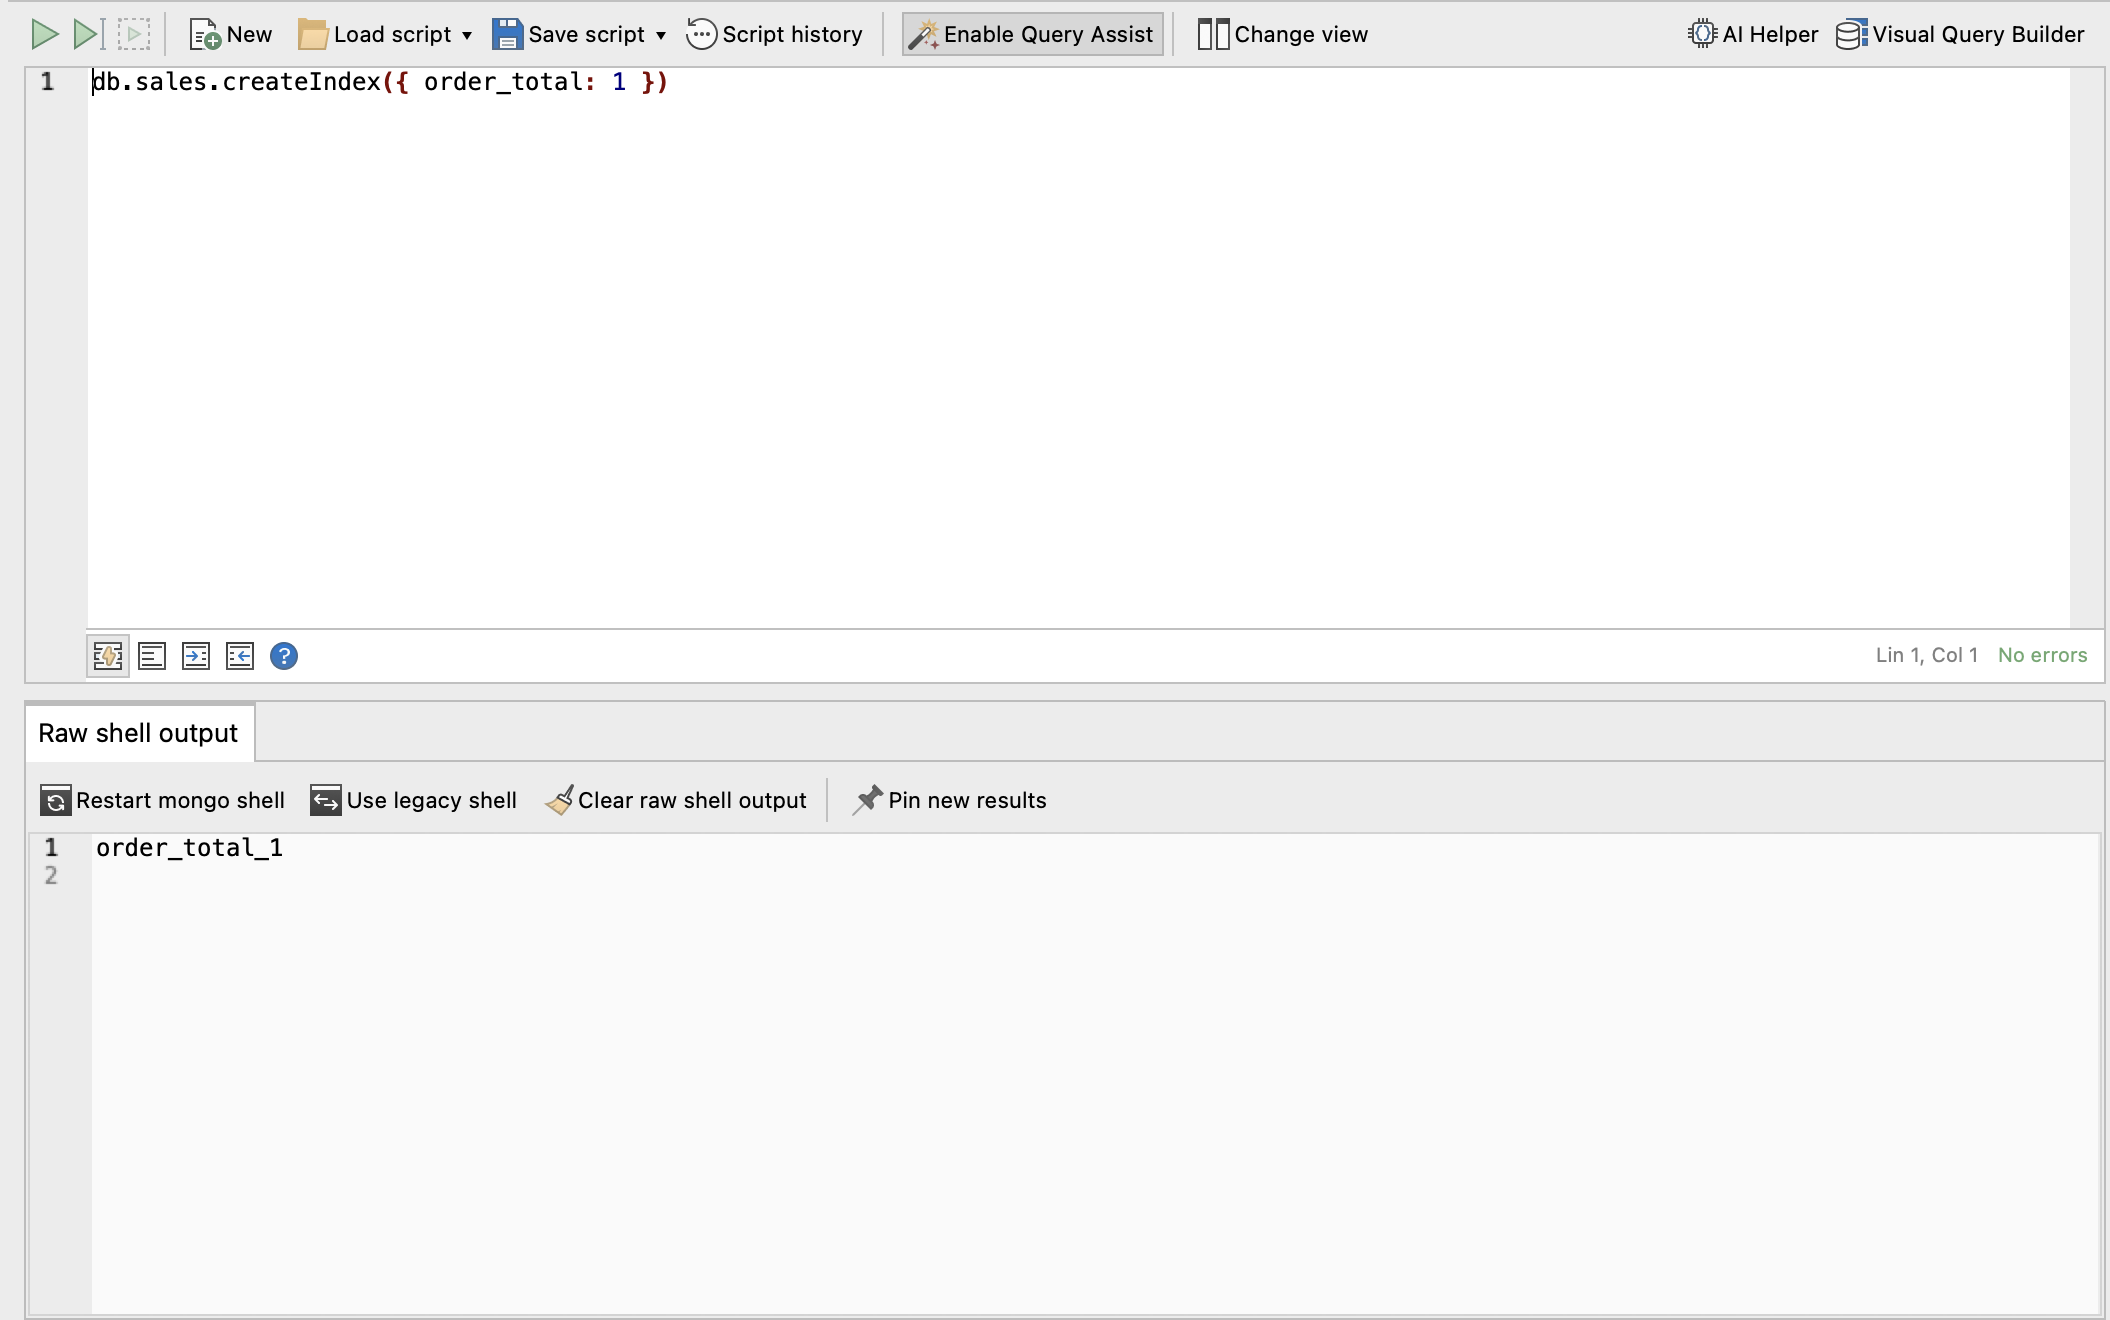
Unique index creation is another advanced operation you can perform on these fields.
Let's assume we want to index the order_total field, which should help improve query performance.
Get Started With FerretDB and Studio 3T
In this article, we've covered a few common operations to show how you can use FerretDB and Studio 3T. However, please note that FerretDB is constantly improving and adding new features, and we'd be happy to learn all about your experience running FerretDB.
We encourage you to try out FerretDB, and if you have any questions or feedback, please or run into any issues, please reach out to us here; we'd be happy to help!