FerretDB Demo: Launch and Test a Database in Minutes

Want to know what a truly open-source MongoDB alternative looks like? No worries! We've got you covered.
We've set up the FerretDB demo page so you can experiment and see what FerretDB looks like in action: creating your own database, performing CRUD operations, running indexes, or aggregation pipeline commands, basically all the commands you're already used to.
If you're new to FerretDB and wondering what it's all about, FerretDB is an open-source database committed to restoring MongoDB workloads to their open-source origins while enabling developers to use the same syntax and commands. Basically, we convert MongoDB wire protocols to SQL with PostgreSQL as the backend engine.
Now that we know what FerretDB is all about, let's jump into the demo and try it out.
Prerequisites
Before proceeding, please make sure you have:
mongosh. Please install mongosh if you don't currently have it installed.
How to launch your own FerretDB demo database
In this blog post, we'll be showcasing the FerretDB demo page and what you can achieve with it.
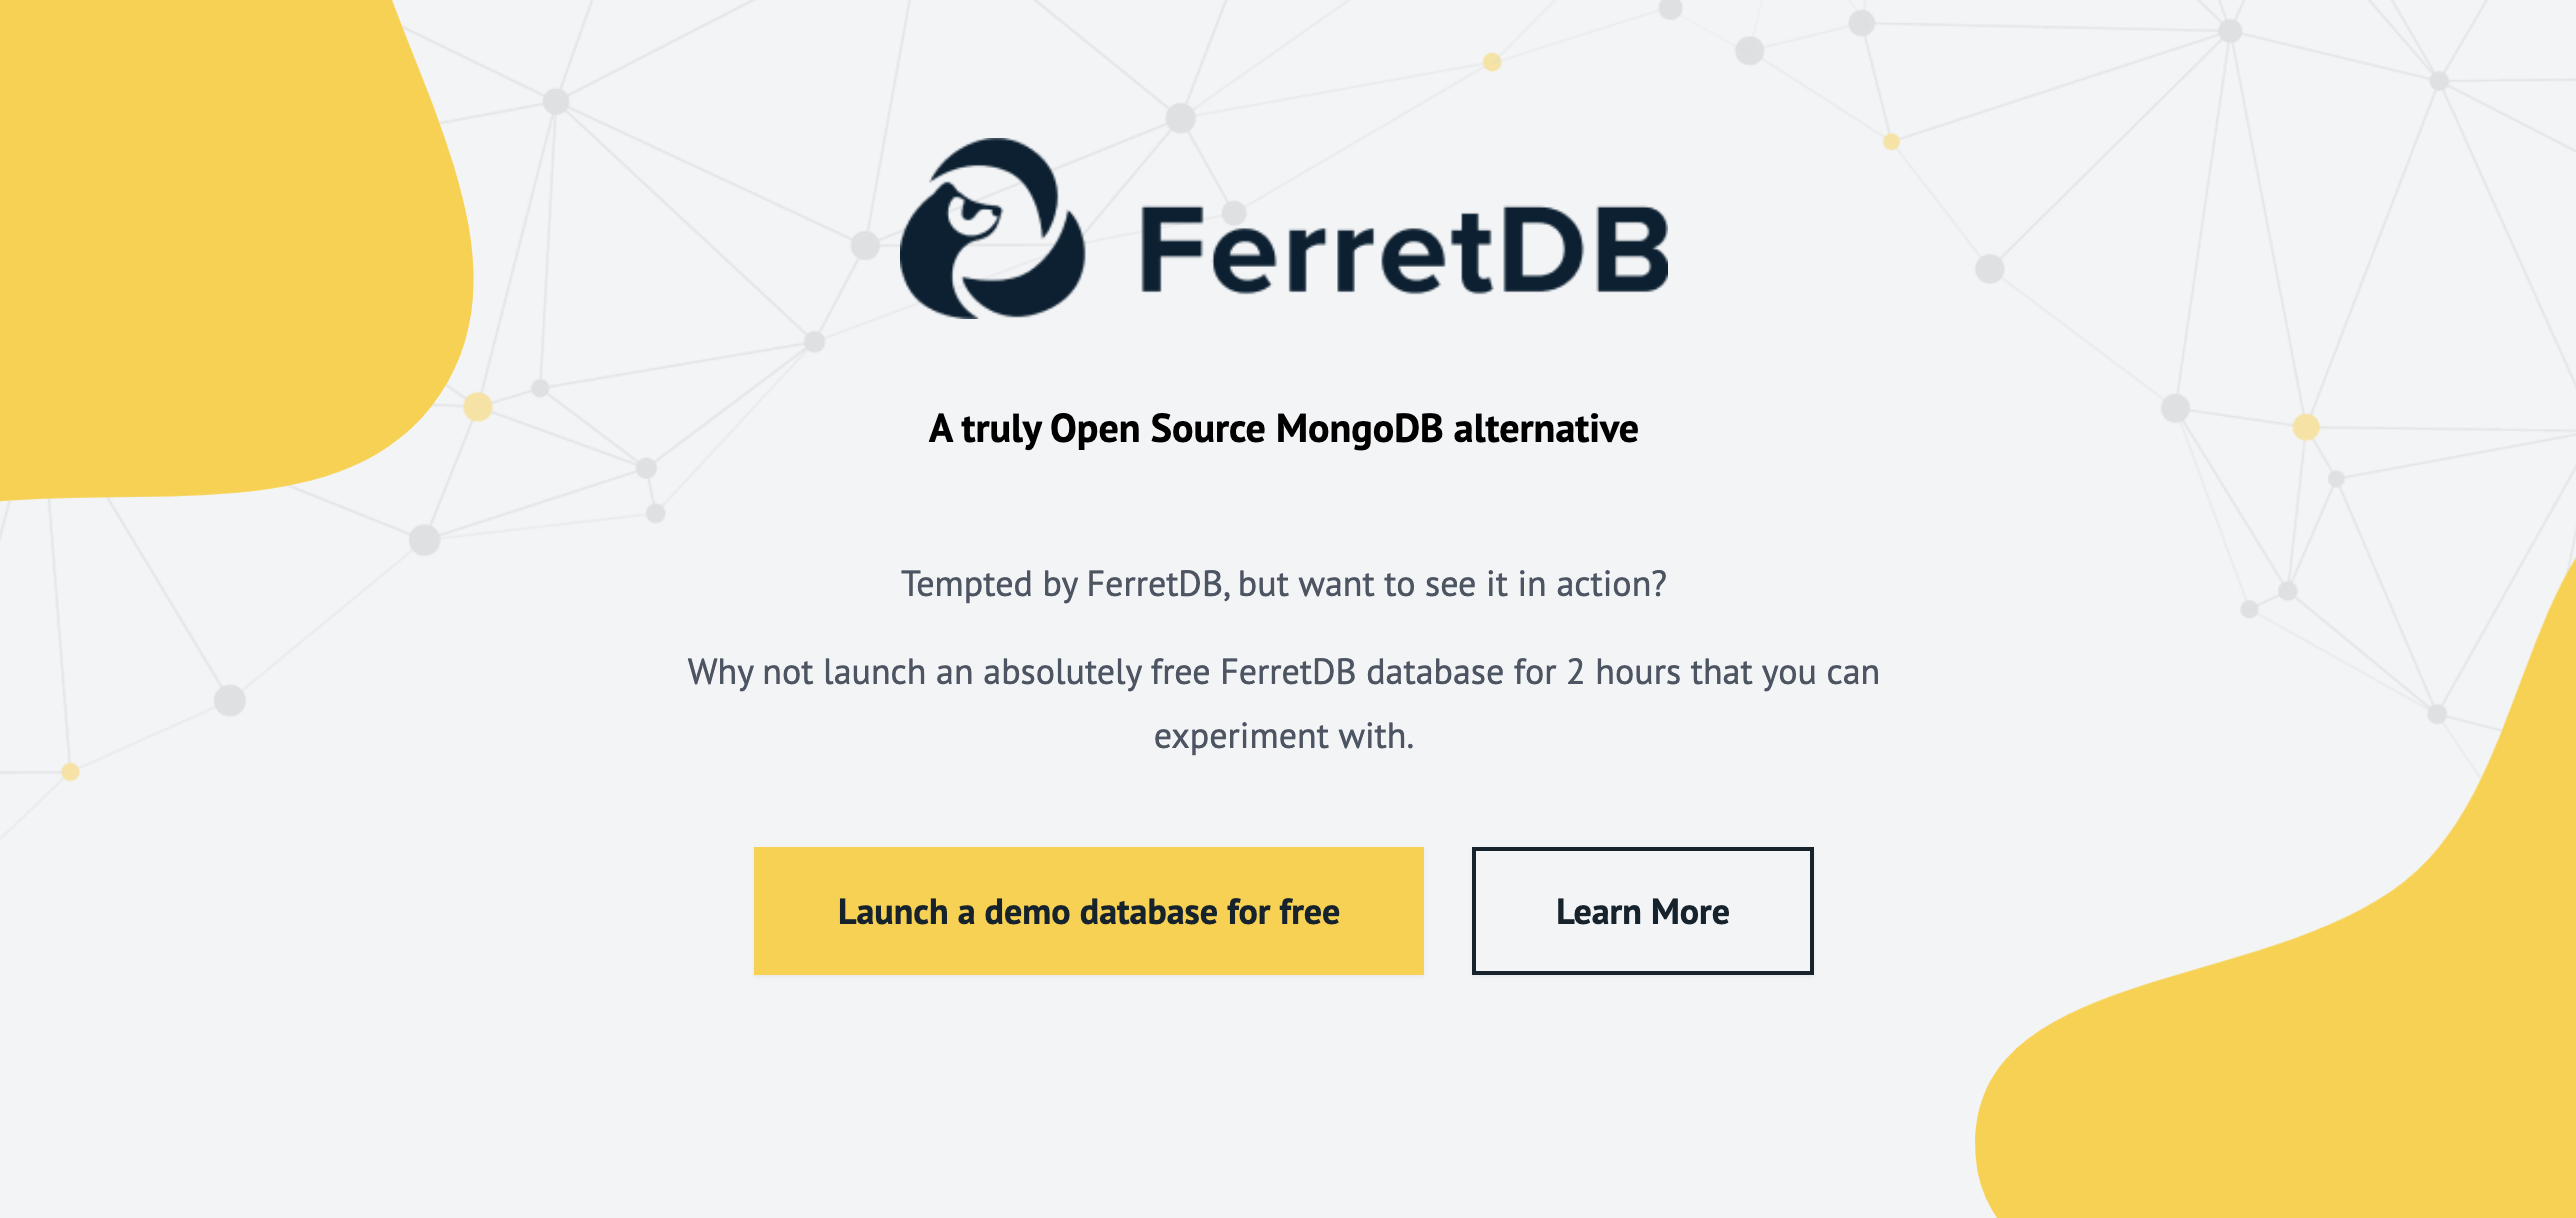
The FerretDB demo is quick to set up, and you can get started through the demo site.
Once you are on the site, you can click the "launch a database for free" button to create your own FerretDB database at Civo.com - a cloud marketplace and service platform.
This process involves getting the necessary credentials for the setup from Civo and then installing the latest FerretDB version on the Kubernetes cluster for you. This whole setup takes about 2-4 minutes to complete; once the database is ready, you'll get a connection URI with your authentication credentials.
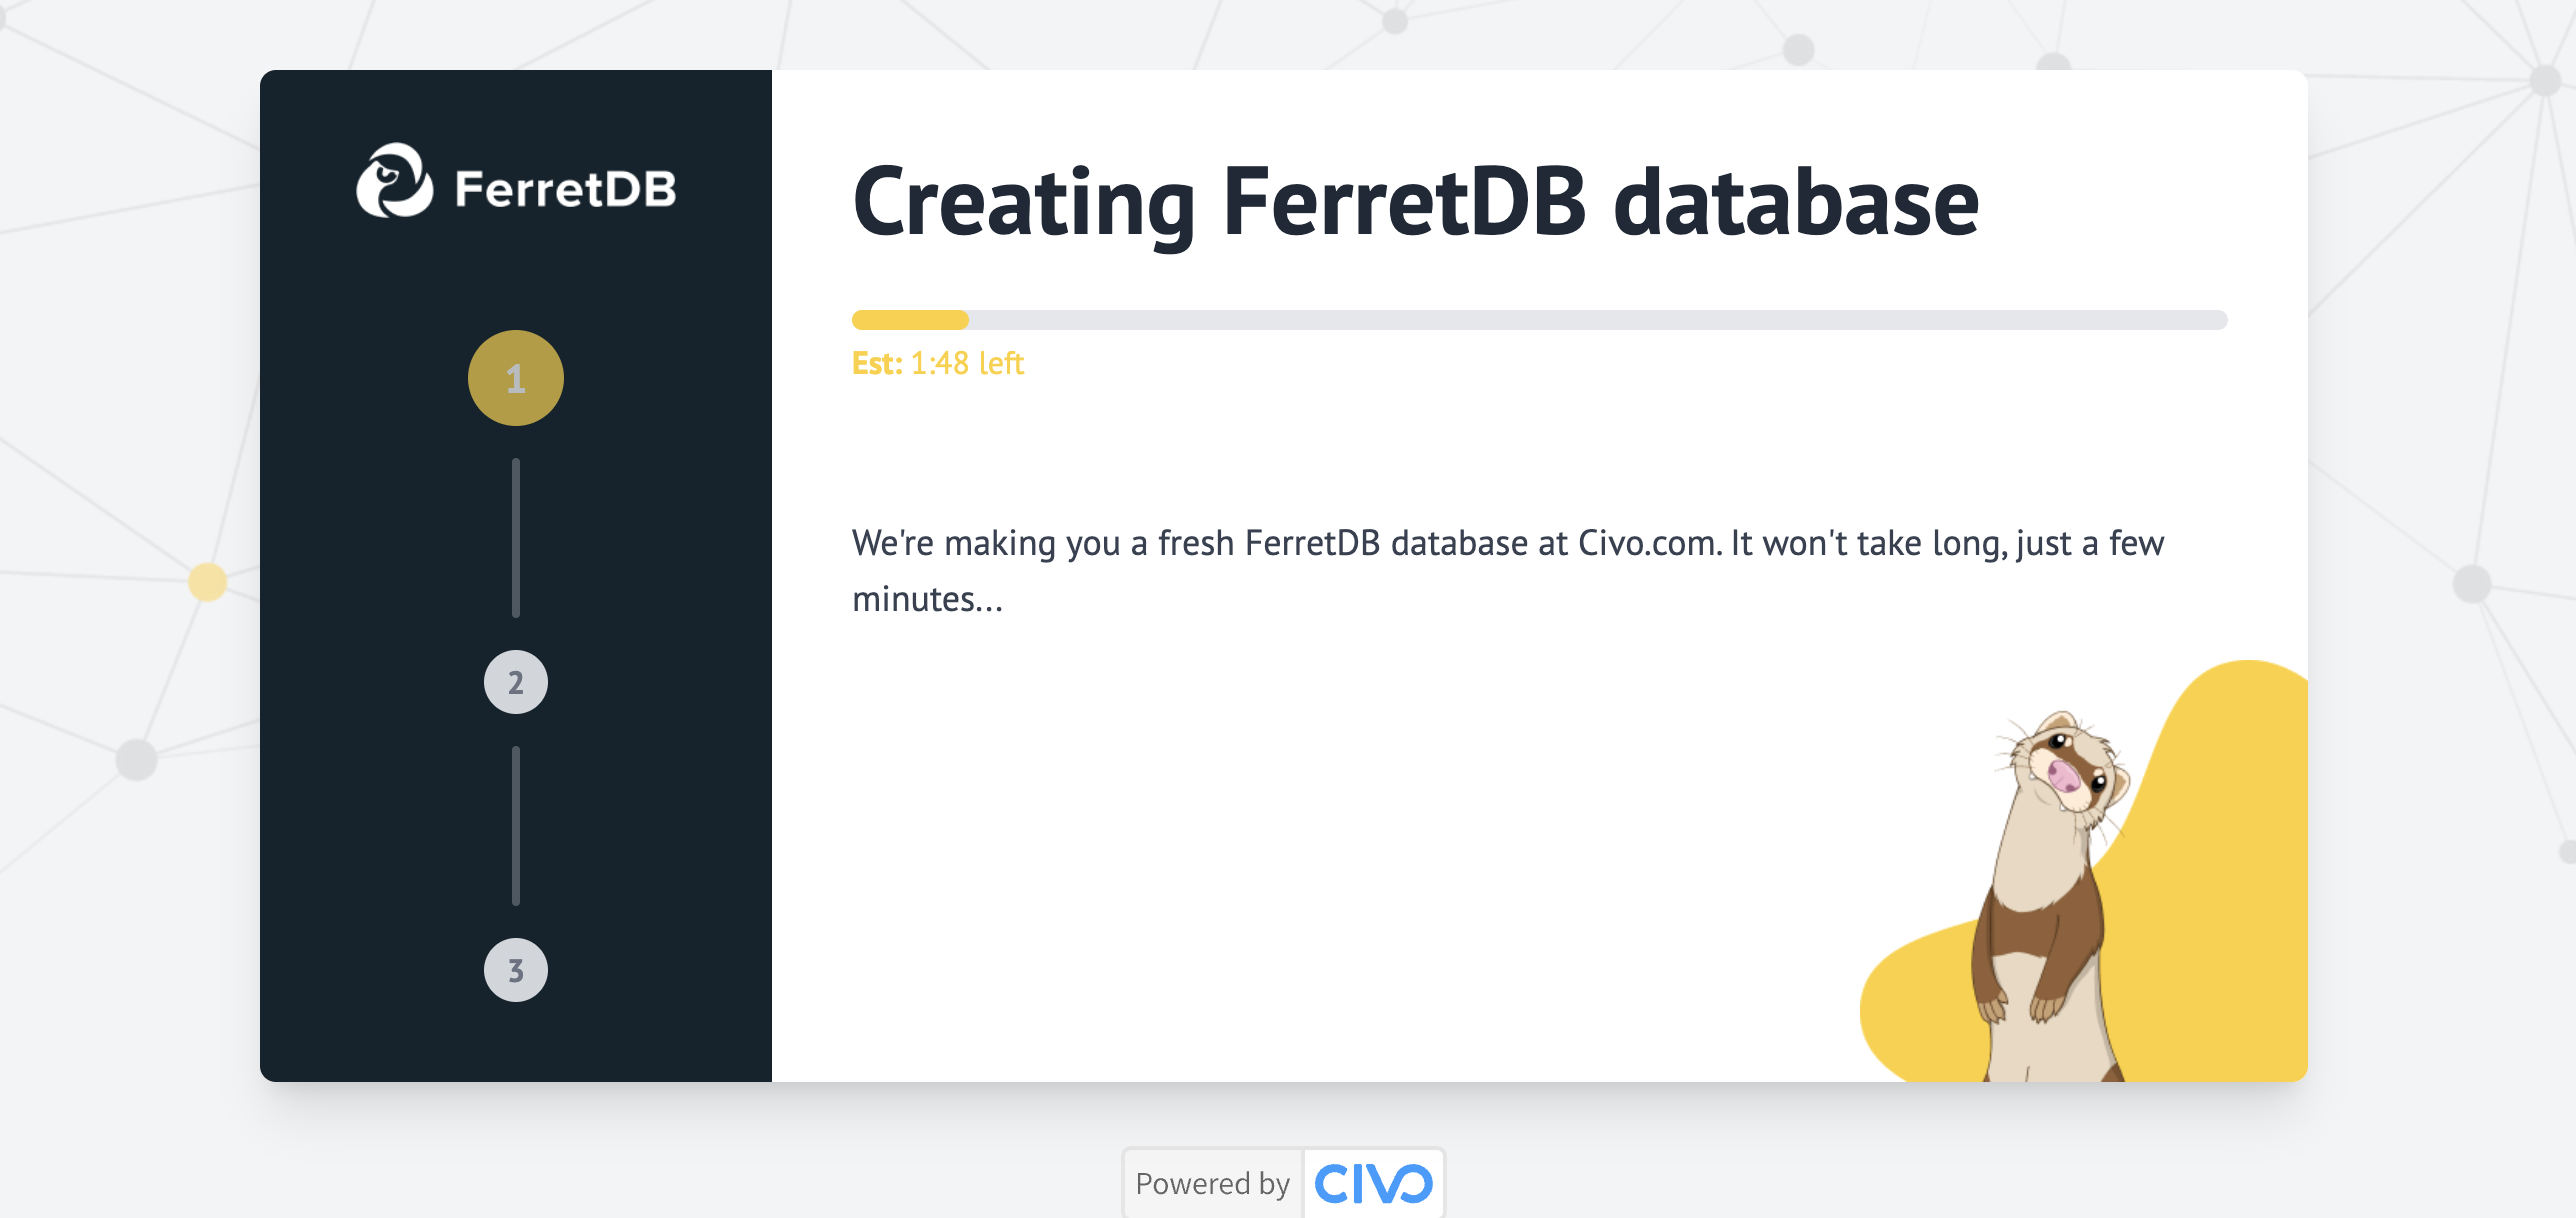
Note that all FerretDB databases created in this demo are deployed on a managed Kubernetes cluster provided by Civo, and are only available for 2 hours after creation.
Remember that the FerretDB instance is only available for 2 hours, so if you would like to go all the way and test out FerretDB for a longer period of time, you can install FerretDB through the Civo Marketplace or through any of our installation guides.
Connecting to your FerretDB instance
Now that you have your FerretDB connection URI, you can connect to your FerretDB instance.
Copy the FerretDB connection URI; it typically follows this format:
mongodb://username:password@host:port/database?authMechanism=PLAIN
Connect to FerretDB through mongosh with the connection URI:
mongosh 'mongodb://username:password@host:port/database?authMechanism=PLAIN'
And that's about it! You have your FerretDB database running.
Run basic operations on your FerretDB database
Now that you're connected to FerretDB, let's explore some basic database operations:
Inserting data: Let's try inserting 4 documents into a database collection demo:
db.demo.insertMany([
  {
    name: 'Chinedu Eze',
    age: 20,
    email: 'chinedu.eze@example.com',
    major: 'Computer Science',
    sports: ['Basketball', 'Running']
  },
  {
    name: 'Maria Rodriguez',
    age: 21,
    email: 'maria.rodriguez@example.com',
    major: 'Business Administration',
    sports: ['Yoga', 'Swimming']
  },
  {
    name: 'Kelly Li',
    age: 19,
    email: 'kelly.li@example.com',
    major: 'Engineering',
    sports: ['Soccer', 'Cycling']
  },
  {
    name: 'Sara Nguyen',
    age: 22,
    email: 'sara.nguyen@example.com',
    major: 'Biology',
    sports: ['Tennis', 'Dancing']
  }
])
Delete data: Let's remove a document from the database using a name field as the specified query.
db.demo.deleteOne({ name: 'Sara Nguyen' })
Update data: Let's update the documents in the database with age less than or equal to 21.
db.demo.updateMany({ age: { $lt: 20 } }, { $addToSet: { sports: 'aerobics' } })
To see the current state of your database, use the find command, which should give you a good view of all the prior changes made to the collection:
db.demo.find()
Output:
response = [
  {
    _id: ObjectId('648bc0619df6027209a65b40'),
    name: 'Chinedu Eze',
    age: 20,
    email: 'chinedu.eze@example.com',
    major: 'Computer Science',
    sports: ['Basketball', 'Running']
  },
  {
    _id: ObjectId('648bc0619df6027209a65b41'),
    name: 'Maria Rodriguez',
    age: 21,
    email: 'maria.rodriguez@example.com',
    major: 'Business Administration',
    sports: ['Yoga', 'Swimming']
  },
  {
    _id: ObjectId('648bc0619df6027209a65b42'),
    name: 'Kelly Li',
    age: 19,
    email: 'kelly.li@example.com',
    major: 'Engineering',
    sports: ['Soccer', 'Cycling']
  }
]
Indexing: In FerretDB, you can also create indexes; let's set an index on the email field the same way you would on MongoDB, like this:
db.demo.createIndex({ email: 1 })
You can try several combinations of commands; here is a list of the currently supported commands on FerretDB. You can also check out this blog post on some of the basic CRUD commands you can run on FerretDB.
Feel free to experiment and explore all the capabilities of FerretDB.
Conclusion
Powered by Civo's seamless setup process, you can have a FerretDB instance up and running in minutes, but note that the database cluster is only up for two hours before it's removed, so you may need to create another one, or install FerretDB through the Civo Marketplace or through the FerretDB installation guide.
If you have any questions, feedback, or requests for FerretDB, please feel free to reach out to us on our community channels.